Reviewed by Anurag Mishra (Sr. Technical Consultant)

In manufacturing and quality control, dimensional accuracy is a critical factor. The profile projector, also known as the optical comparator, is one of the most important instruments used in various industries for high-precision measurements of small components. Optical measuring instruments provide a reliable method to inspect parts, check tolerances, and confirm dimensional accuracy without coming into contact with the inspected part. They cast an object's shadow onto a screen where it can be matched up against a reference scale or template to assess with accuracy.
To be able to comprehend the advantages and disadvantages of a profile projector, businesses, and professionals engaged in the assessment of quality and metrology will have to understand what its strengths and weaknesses are to help make informed decisions about when and how to employ the devices in their businesses.

Highly Accurate Measures
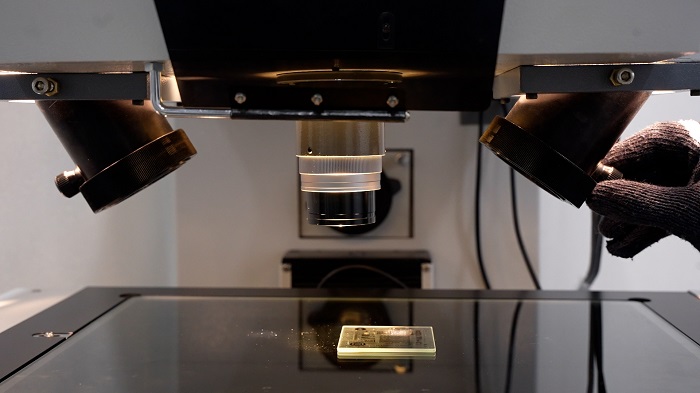
Profile projectors are capable of delivering high-accuracy measurements, particularly for small intricate parts. Optical magnification enables precision dimensional analysis, suitable for the measurement of small parts such as gears, screws, and other small electronic components.
Non-Contact Measurement
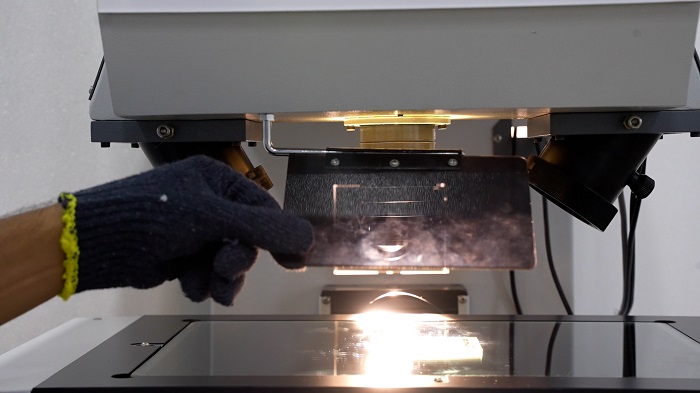
One of the major merits of profile projectors is their non-contact measurement ability. Because optical projection is used without any actual physical contact with the measurement, delicate or soft materials that may otherwise be crushed or damaged from contact measurements can be readily measured without worry.
Easy Operation
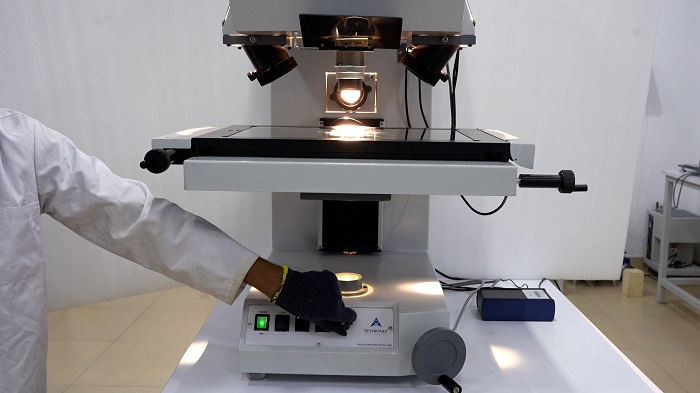
Profile projectors are relatively simple to use, with easy-to-read visual displays that allow operators to understand results without much training. The object's silhouette projection on the screen makes measurements easy because it is easy to compare the part to the reference scale. This makes it very important for small-scale operations because operators may not need much training to perform simple measurements.
Affordable Solution
Profile projectors are cheap compared to other advanced measurement instruments such as Coordinate Measuring Machines. They offer a nice payback for the investment and are of great value.

Versatility
Profile projectors support a wide range of measurements such as diameters, angles, profiles, and shapes. They are utilized for the estimation of different parts in various businesses like automotive, hardware, aviation, and many more.
No Wear and Tear
Since profile projectors use optical measurements instead of physical contact, they undergo minimal wear and tear. This makes the device last longer than other measuring equipment that relies on contact to measure, which could become worn out or may require frequent maintenance due to friction or damage.
Limited to 2D Measurements
One of the major drawbacks of profile projectors is that they can only measure 2D measurements. They cannot measure depth or volume in 3D geometries and do not apply to components that need full-dimensional analysis.
Operator Dependency
Right calibration shall ensure that measurements are properly produced. In case the human operator is not well-educated regarding his task, subjective mistakes take place. This human component impacts the accuracy of obtained results, especially for harder components with intricate designs.
Restricted Field of View
While profile projectors may be useful for small or medium-sized components, the angle of view may limit their application for longer parts. This would naturally take a lot of time, and one might need a lot of effort to determine all parts of a much larger component.

Sensitivity to Environmental Factors
They tend to be vibration and temperature susceptible, besides showing vulnerability to lighting conditions which tend to affect their accuracy, these devices should be employed in a controlled environment. Any disturbing condition may lead to a misalignment that affects precision in measurement.
Highly Time-Consuming on Repetitive Tasks
Since profile projectors require manual input for measurements, they can be slow for tasks that are repeated. Automated systems such as CMM or robotic measurement stations may be needed for high-volume production as they can complete the job faster and with minimal interference from humans.
Not Future-Ready
Profile projectors do not have the latest technologies such as digital integration, 3D scanning, or sophisticated automation, which are integrated into newer metrology devices.
Engineering: Measure materials and manufactured machine parts for dimensional suitability and wear.
Electrical Engineering: Measure electronics by comparing sizes and alignment of circuit board components.
Aerospace: Ensures turbine blades, compressor blades, and other critical components have the right profiles.
Automotive: Justify precision in engine components and other mechanical parts for safety and performance purposes.
Ensure Proper Calibration: Calibration is a must to ensure correct results.
Maintain Clean Workspace: Dust and contamination may degrade the quality of projection images and even distort measurement results.
Utilize Correct Lens Magnification: Choose a lens appropriate for the size of the component to prevent mistakes in measurement.
Operator Training: Proper training will minimize human errors, and ensure the results to be obtained will always be accurate.
To accurately measure the small components and parts of industries like automotive, electronics, and aerospace, profile projectors are used.
Though newer systems like CMMs and 3D scanners have more capability, profile projectors can still be used for cost-sensitive and 2D inspection applications.
Regular calibration, a stable environment, and training operators to handle and measure properly would do the job.
Contact us today to book a demo, request a quote, or learn how our high-precision Profile Projectors can help speed up your quality control activities and improve your productivity. Don't settle for second best; opt for precision with Testronix.