Reviewed by Anurag Mishra (Sr. Technical Consultant)

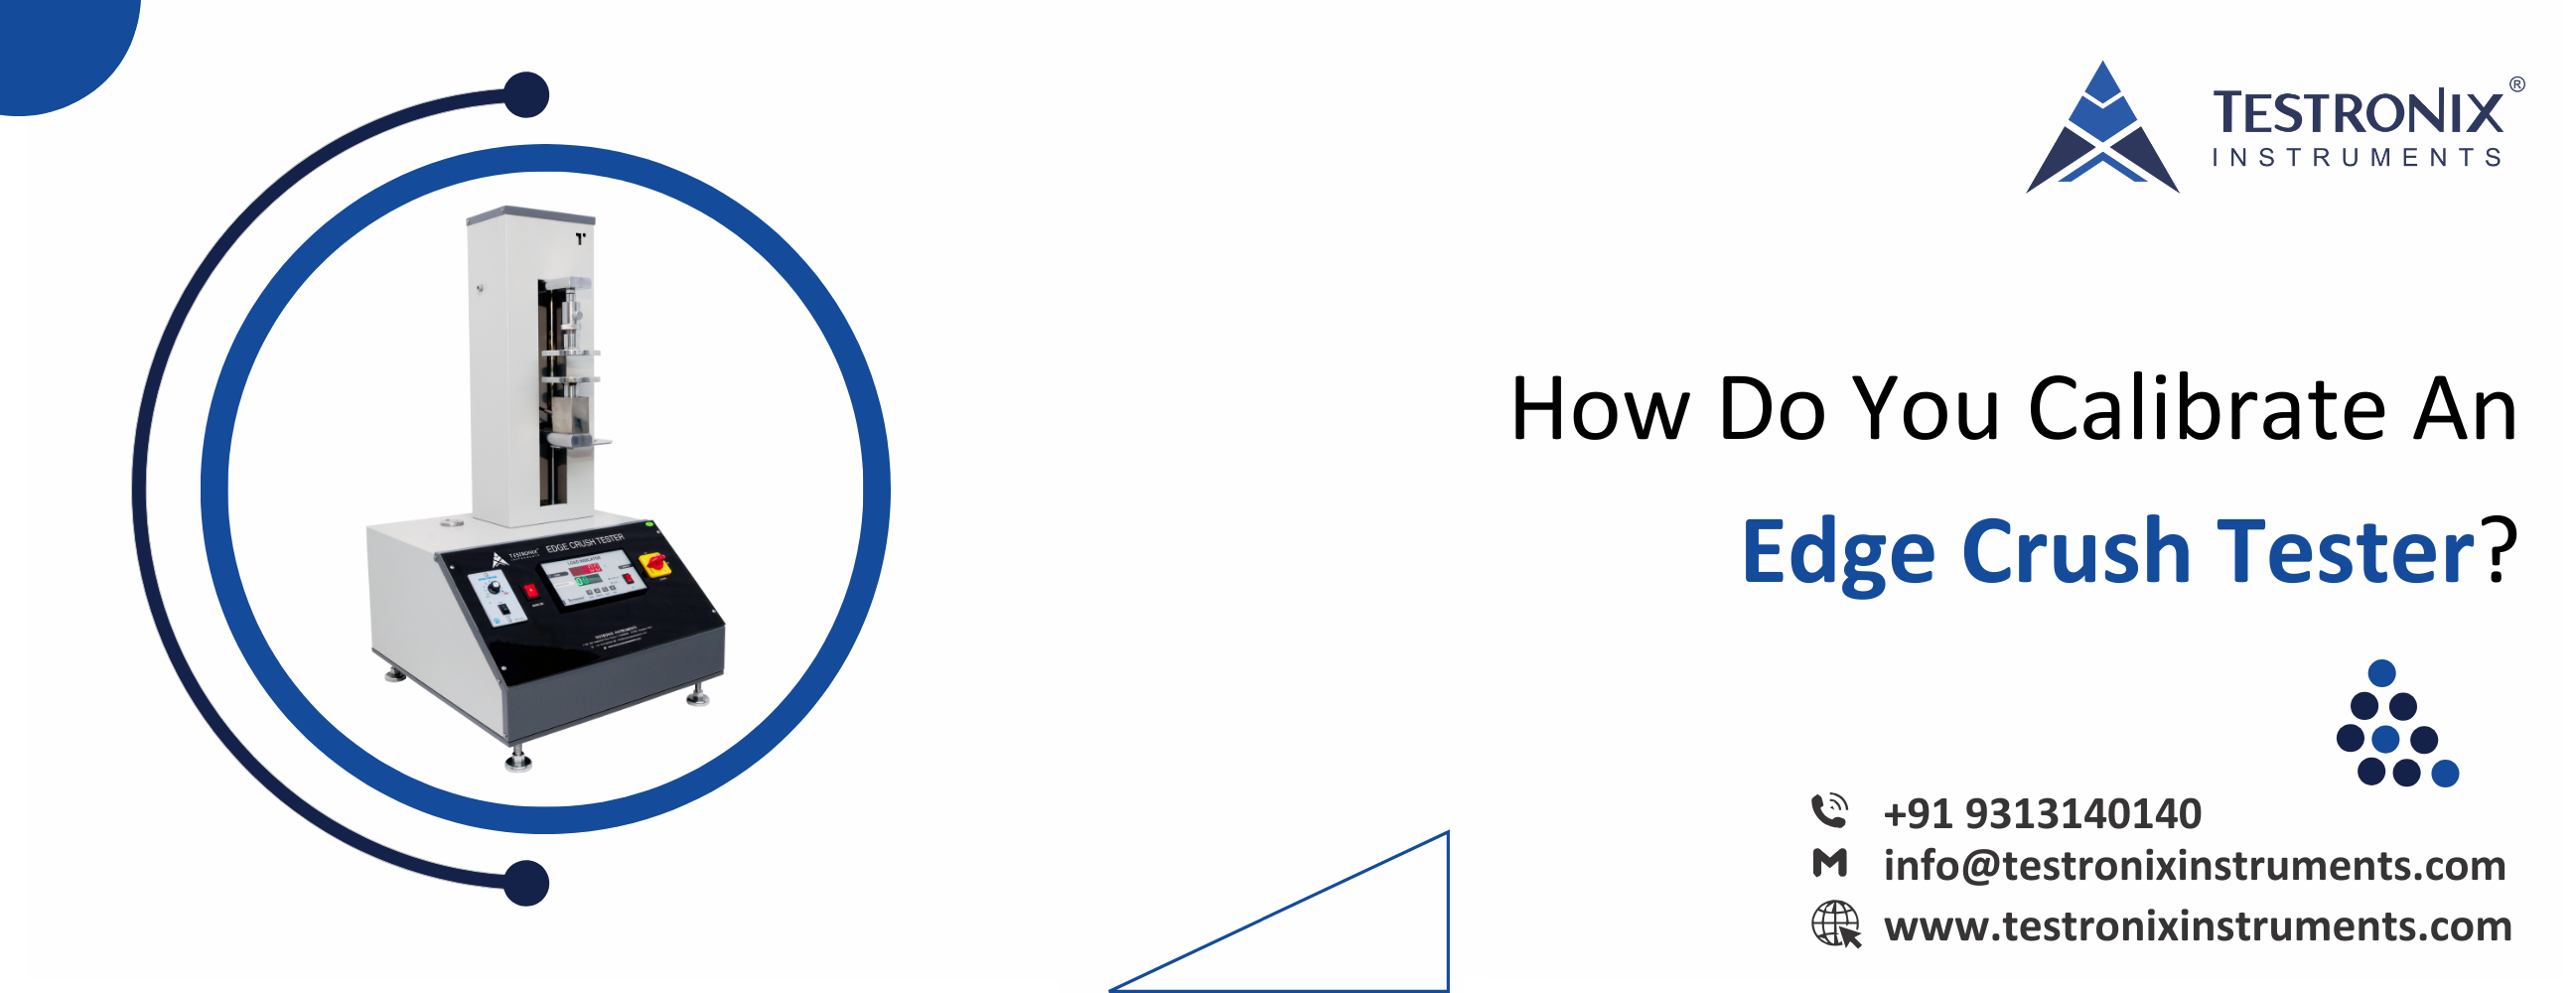
Edge crush strength is considered to be a vital aspect of the packaging industry. By testing the edge crush strength of different packaging materials like paper products, corrugated boxes etc. manufacturers can easily ensure the durability of materials when edge-wise compression force is applied to the materials. We at Testronix have designed a high-quality digital edge crush tester to test the edge-wise compression strength of the materials. This high-quality lab testing instrument has been designed as per industrial standards that make it easy for the manufacturers to conduct ECT on the materials.
If you want to ensure that your edge crush tester will remain at the top of the condition, it is important for the manufacturers to ensure that the machine is properly calibrated. In this blog, we will discuss brief information about edge crush testers and easy steps to calibrate this testing instrument.
The edge crush tester designed by the experts at Testronix is one of the highly advanced lab testing instruments that can be used for testing the edge crush strength of different materials including paper, corrugated boxes, cartons etc. Thus, with the help of this high-quality paper and packaging material, manufacturers can easily calibrate and maintain this testing equipment.
This cutting-edge instrument is widely used in industries such as packaging, manufacturing, printing, and quality control to ensure that their products meet stringent standards of strength and durability. With its precise measurement capabilities, the Testronix Edge Crush Tester has become an essential lab testing instrument for businesses looking to maintain high-quality packaging standards.
Whenever you select the best edge crush tester for your cartons, you need to take care of different factors and ensure that you get the best.
Now, let us discuss the features and technical specifications of this testing equipment.
Safety Switch Upward & Downward Limit Switches
Material Mild Steel Powder-coated body
Dimensions 600x500x863 mm
Computerized model available on request
Thermal printer connectivity optional feature
Microprocessor-based display for accurate test results
Display for compression strength of test specimen
Separate fixtures for ring crush, edge crush and flat crush test.
Highly accurate test results under compression force
Feather touch controls RCT/FCT/Edge Crush Tester reveals the crushing resistance in terms of Kg/Unit length.
Load Cell Capacity 100 Kgf
Accuracy ±0.5% at full load (with master load)
Least Count/Resolution 10gm
Power 220V, Single phase, 50 Hz Test Speed 12.5± 2.5 mm/min
With these high-end features and technical specifications, manufacturers can easily conduct edge crush tests on the materials. Now, let us discuss brief information about the calibration procedure for this lab testing instrument.
Calibration of machines is an integral part of quality control in different sets of industries. By ensuring that the products will be calibrated accurately, manufacturers can easily any potential deviations or inaccuracies within machinery promptly so that corrective measures can be taken before they impact production processes negatively.
Testronix edge crush testing instrument is widely used in the paper and packaging industry and it is important for the product manufacturers to calibrate this testing machine at different intervals.
Below we have listed some easy-to-follow calibration procedures that you must use for performing calibration of your testing machine.
First, press RESET and TARE to set the load display to zero.
Set the Load Indicator and press RESET and MEMORY together again. This will show St-1 on the Deflection display and some value on the Load display.
Here press the PEAK key to shift the digits and enter the 80% value of the maximum load range of the machine in it. For example, if the machine has a maximum range of 100 kgf, the value that should be put in the load display should be 80 kgf.
After this press RESET and MEMORY together again.
This will show dot 1 on the deflection display and ----- on the load display. Now Press the RESET and MEMORY keys again to exit the load monitor setting menu.
After exiting the load monitor setting menu, check the values on the load indicator. If they match the values on the load monitor of the master calibration load cell then it means your machine is fully calibrated.
If the values don’t match, repeat the calibration procedure again.
In this way, you can easily calibrate the edge crush testing instrument. If you need further help regarding instrument calibration, then you can give us a call at +91 9313140140 or email us at info@testronixinstruments.com. Our team of technical experts will consult you regarding all your needs and queries.